Mastering Hibachi-Style Fried Rice at Home

Mastering Hibachi-Style Fried Rice at Home
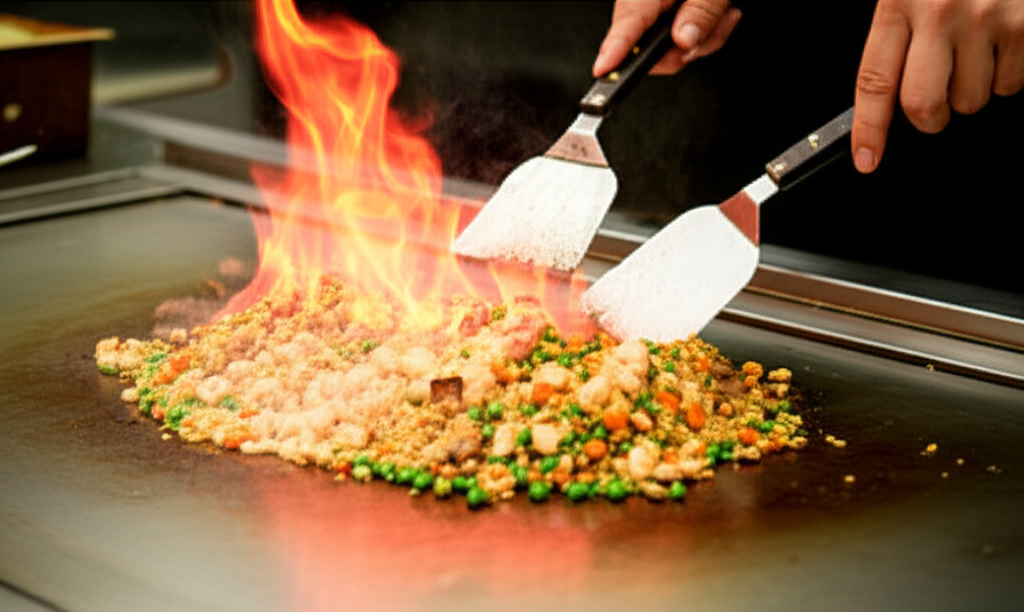
Hibachi-style fried rice is a beloved staple of Japanese steakhouse menus across America. With its savory flavor, perfect texture, and simple yet satisfying ingredients, it's no wonder this dish has become so popular. The good news is that you can recreate this restaurant favorite at home with the right techniques and ingredients.
The Secret to Authentic Hibachi Fried Rice
Professional hibachi chefs have a few key secrets that make their fried rice exceptional:
1. Day-old rice: Fresh rice contains too much moisture and will become mushy when fried. 2. High heat: A screaming hot cooking surface creates the perfect sear and prevents sticking. 3. Quality butter: Many hibachi restaurants use a combination of oil and butter for rich flavor. 4. Simple seasonings: The classic flavor comes from just a few key ingredients.
Let's break down how to recreate this at home, step by step.
Essential Equipment
While you don't need a commercial teppanyaki grill, you do need:
Ingredients for Perfect Hibachi Fried Rice
Base Ingredients (Serves 4)
Seasonings
Optional Add-ins
The Step-by-Step Process
Preparation
1. Break up the rice: Before cooking, use your hands to break up any clumps in your cold rice. Each grain should be separate. 2. Mise en place: Have all ingredients prepped and ready beside your cooking area. Once you start, the process moves quickly.Cooking Method
#### Step 1: Heat Your Pan 1. Place your skillet or wok over high heat until it's very hot (about 2-3 minutes). 2. Add vegetable oil and swirl to coat the surface.
#### Step 2: Cook the Aromatics 1. Add diced onions and carrots, stir-frying for 1-2 minutes until they begin to soften. 2. Add minced garlic and cook for 30 seconds until fragrant. 3. Push everything to one side of the pan.
#### Step 3: Cook the Eggs 1. Add 1 tablespoon of butter to the empty side of the pan. 2. Pour in beaten eggs and scramble quickly as they cook. 3. Once eggs are just set but still moist, mix them with the vegetables.
#### Step 4: Add the Rice 1. Add the cold rice to the pan, breaking up any remaining clumps with your spatula. 2. Stir-fry for 2-3 minutes, allowing the rice to heat through and begin to toast slightly. 3. Add remaining 2 tablespoons of butter and mix until melted and incorporated.
#### Step 5: Season the Rice 1. Drizzle soy sauce around the perimeter of the pan (this allows it to heat and caramelize slightly before mixing). 2. Add white pepper and mix thoroughly. 3. Add frozen peas and any pre-cooked proteins, mixing to incorporate. 4. Continue stir-frying for another 2-3 minutes until everything is hot and well combined.
#### Step 6: Finish the Dish 1. Remove from heat and drizzle with sesame oil. 2. Fold in sliced green onions, reserving some for garnish. 3. Taste and adjust seasoning with additional soy sauce or salt if needed.
Common Mistakes to Avoid
Variations to Try
Garlic Butter Fried Rice
Add 1 tablespoon of garlic butter at the final stage for extra richness.Yum Yum Sauce Fried Rice
Drizzle with Japanese steakhouse-style yum yum sauce just before serving.Kimchi Fried Rice Fusion
Add 1/2 cup of chopped kimchi with the vegetables for a Korean-Japanese fusion.Serving Suggestions
Hibachi fried rice pairs perfectly with:
Storage and Reheating
Hibachi fried rice stores well in the refrigerator for up to 3 days. To reheat:
1. Add 1 tablespoon of water per cup of rice 2. Cover and microwave, or 3. Reheat in a hot skillet with a small amount of oil
Conclusion
Mastering hibachi-style fried rice at home is all about technique and quality ingredients. The beauty of this dish lies in its simplicity—you don't need exotic ingredients or complicated methods, just attention to detail and proper execution.
With practice, you'll develop the confidence to customize your fried rice with different proteins and vegetables while maintaining that authentic hibachi restaurant flavor. Your family and friends will be impressed with your Japanese steakhouse skills, and you'll save a fortune on dining out!